
Managing Prospects
The Streamline platform helps manage two types of people for rental properties: prospects (potential renters) and tenants (current lessees). This article explains how to use the platform to manage prospects and streamline onboarding.
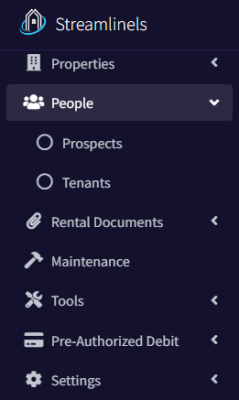
On the left navigation, start by expanding the People option, then choose Prospects.
Managing Prospects
Prospects can be created manually from the Prospects page or using the 3rd party application link.
Prospects can upload their information using a 3rd-party application link, which can be added to your unit’s advertising site or sent directly to them. Clicking the link directs them to our website to enter their contact information.
Accessing Your 3rd Party Application Link
To access this application link, create a property. Once it has been saved, click on the Action menu, then Edit Property option. Scroll down to the Manage Viewing Availability section and check the Has Upcoming Availability checkbox.
This will activate all of the controls in this section. You can copy this application link from here and paste it anywhere you’d like. We also recommend that you send it to anyone who inquires about your property over text or any other messaging service.
We’ll cover how the rest of the Manage Viewing Availability section works here.

Prospect Documents
A prospect can have associated documents, typically application forms for leasing a unit. First, we’ll briefly cover the blank document repository.
Blank Document Repository
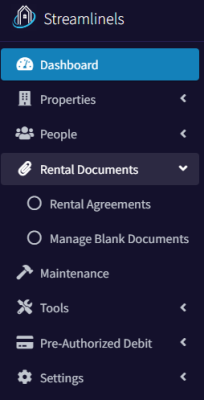
This is a repository of blank documents that you can upload to the platform which will streamline your prospect application process. This page can be found under Rental Agreements / Manage Blank Documents on the left navigation.
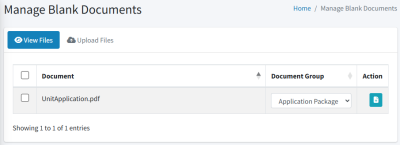
Navigate to this page and upload a file. A great example is a blank application form that a prospect needs to fill out when applying to lease your unit. Once the file has been uploaded, you can set the Document Group. Right now, the only option is Application Package.
Managing Prospect Documents
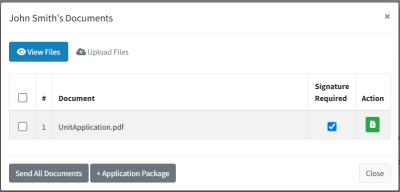
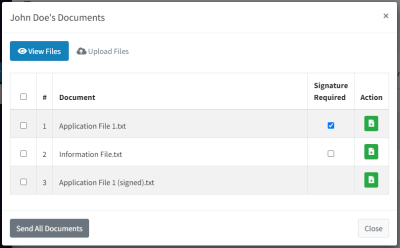
To view the prospect’s documents, go to the prospects page and click on the documents button in the action column. You can add all of the documents in the Application Package by clicking the “+ Application Package” button.
You can send documents to prospects for review and signing. They can upload signed versions directly to the platform, eliminating the need for physical delivery or email.
You can enable the Signature Required option for documents needing a signature or disable it for informational documents. Additionally, you can upload new documents for a prospect or download the current version using the Action column button.
Click “Send All Documents” to send a download link to the prospect.
Prospect Signing and Uploading Documents
After you click the Send All Documents button, the prospect will receive an email which invites them to download these files.

The prospect can download all sent files, then upload a signed version of any that require a signature.
Once all files that require signatures are uploaded, you are sent a notification. In the prospect documents dialog, you can see the signed files.
You can keep all files or delete the blank version by selecting the file using the left checkbox and clicking the Trash icon.
Running a Tenant Verification Report
Before entering a financial agreement, we recommend knowing your prospect by requesting a Tenant Verification Report directly from the Prospect page. You can read more about Tenant Verification Reports here. This will help identify any red flags.
Approve/Decline a Prospect
In the Action column, choose the Approve/Decline prospect option. This will change the prospect’s status and notify them of your decision. If you approved them, they have the opportunity to respond to let you know if they are still interested in proceeding.
Convert to Tenant and Create Rental Agreement
The final step is to convert the prospect into a tenant and create a rental agreement.
In the action menu, choose Convert to Tenant.
This dialog is a combination of the Tenant and Rental Agreement dialogs.
After submitting the information, you have the option to upload a lease file. This file can later be found in the rental agreement documents page.
Once the conversion has completed, the prospect record will be deleted, a new tenant and rental agreement records are created, and all of the prospect documents can now be found under the rental agreement documents.